
The purchased Isis figure has a horned disk. Although Isis is seen with that on her head in many illustrations, I wanted her to wear the throne glyph to better match the Nephthys figure.
Note: The general procedure for the makeover is described on the page for Osiris. Commentary below is specific to the Isis figure and is largely in the “Other modifications” section of the Osiris outline.

The Isis figure as purchased.
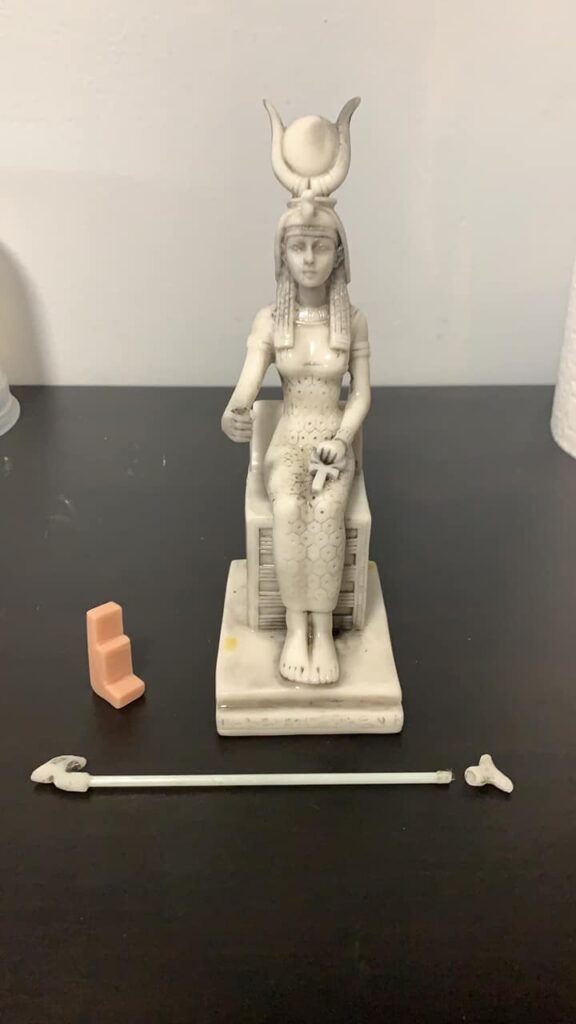
After acetone bath and scrub. Note that the wꜣs scepter is parts glued together so that it can slide through the hole in the figure’s hand. It was necessary to put the scepter back together and glue it into position in the hand (you want it to stay at the right height) before priming.
However, given the difficulties presented by the crown, I waited until the crown was done before I bothered to reassemble the scepter.

I sculpted the throne glyph with Super Sculpey and then baked it. To get the size right, I looked at papyri and statues depicting Isis with the glyph, and measured the height of her head versus that of the glyph, and made the sculpt proportional to the figure (taking what seemed to roughly be the average proportion in the various sources).
The picture shows a drill bit sticking into the bottom of the throne. I took a bit and just manually screwed it into the bottom. The reason for drilling this hole will be explained below.

I used a rotary tool with a cutting blade to remove the horned disc from the top of the vulture crown. Use caution and all appropriate safety precautions and equipment when using power tools!
That left a small ridge running across the top of the vulture crown from left to right. I sanded that down until the top of the vulture was flat.
Then I very carefully took a drill and drilled a hole into the top of the head, corresponding to the one I put into the throne.

The reason for these holes was to create a stronger joint to hold the throne to the head. This is essentially the same procedure as when you glue a short dowel between two pieces of wood to join them.
What you cannot see in this picture is that there is a short piece of wire, about an inch long, connecting the throne and the head. I put a few drops of Gorilla Glue into each of the holes, and a little more for good measure on the bottom of the throne (a little more; you don’t want overflow), and put the throne onto the head, putting the short piece of wire into the holes on each as I put them together.
When I had given that glue plenty of time to cure, I could actually lift the entire figure by grabbing and lifting the throne.
Then I glued the wꜣs scepter into position in her hand, and glued the two ends of it back on. For this, I used superglue. She was now ready for priming.
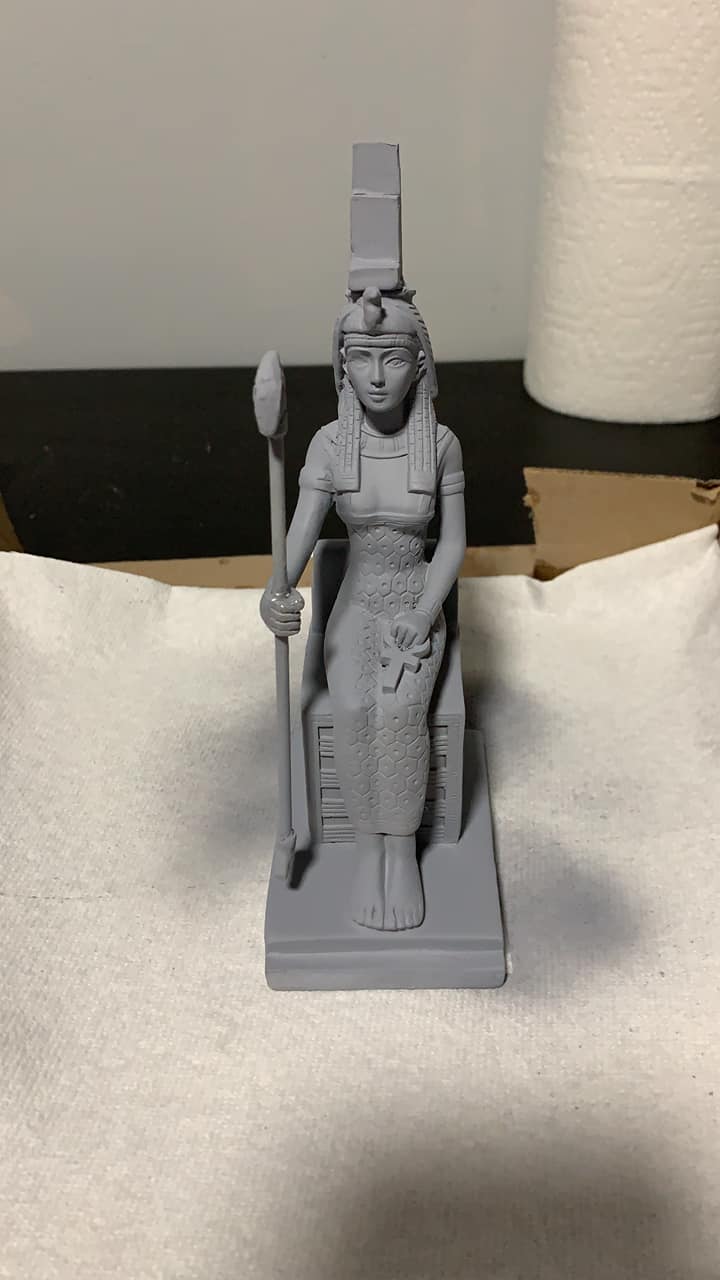
And here she is after priming, ready to paint. Note that once again, I did not glue the ceramic tile “extra wide base” onto the bottom of the figure before priming. I now do so when I make these figures. That extra stability is nice if you want to pick up and move the box that the figure is sitting in while the primer dries.

Once she was painted, I sprayed her with clearcoat and put a new piece of felt on the bottom (not visible in picture), and she was done!
Incidentally, this photo shows why I switched from High Gloss clearcoat to Dead Flat. Look at the right side (viewer’s right) of her throne glyph. In this picture, it looks like it might be white on that side, but that’s just light reflecting on the glossy coat. The throne is actually blue on all sides.