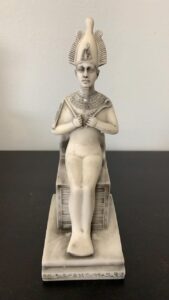
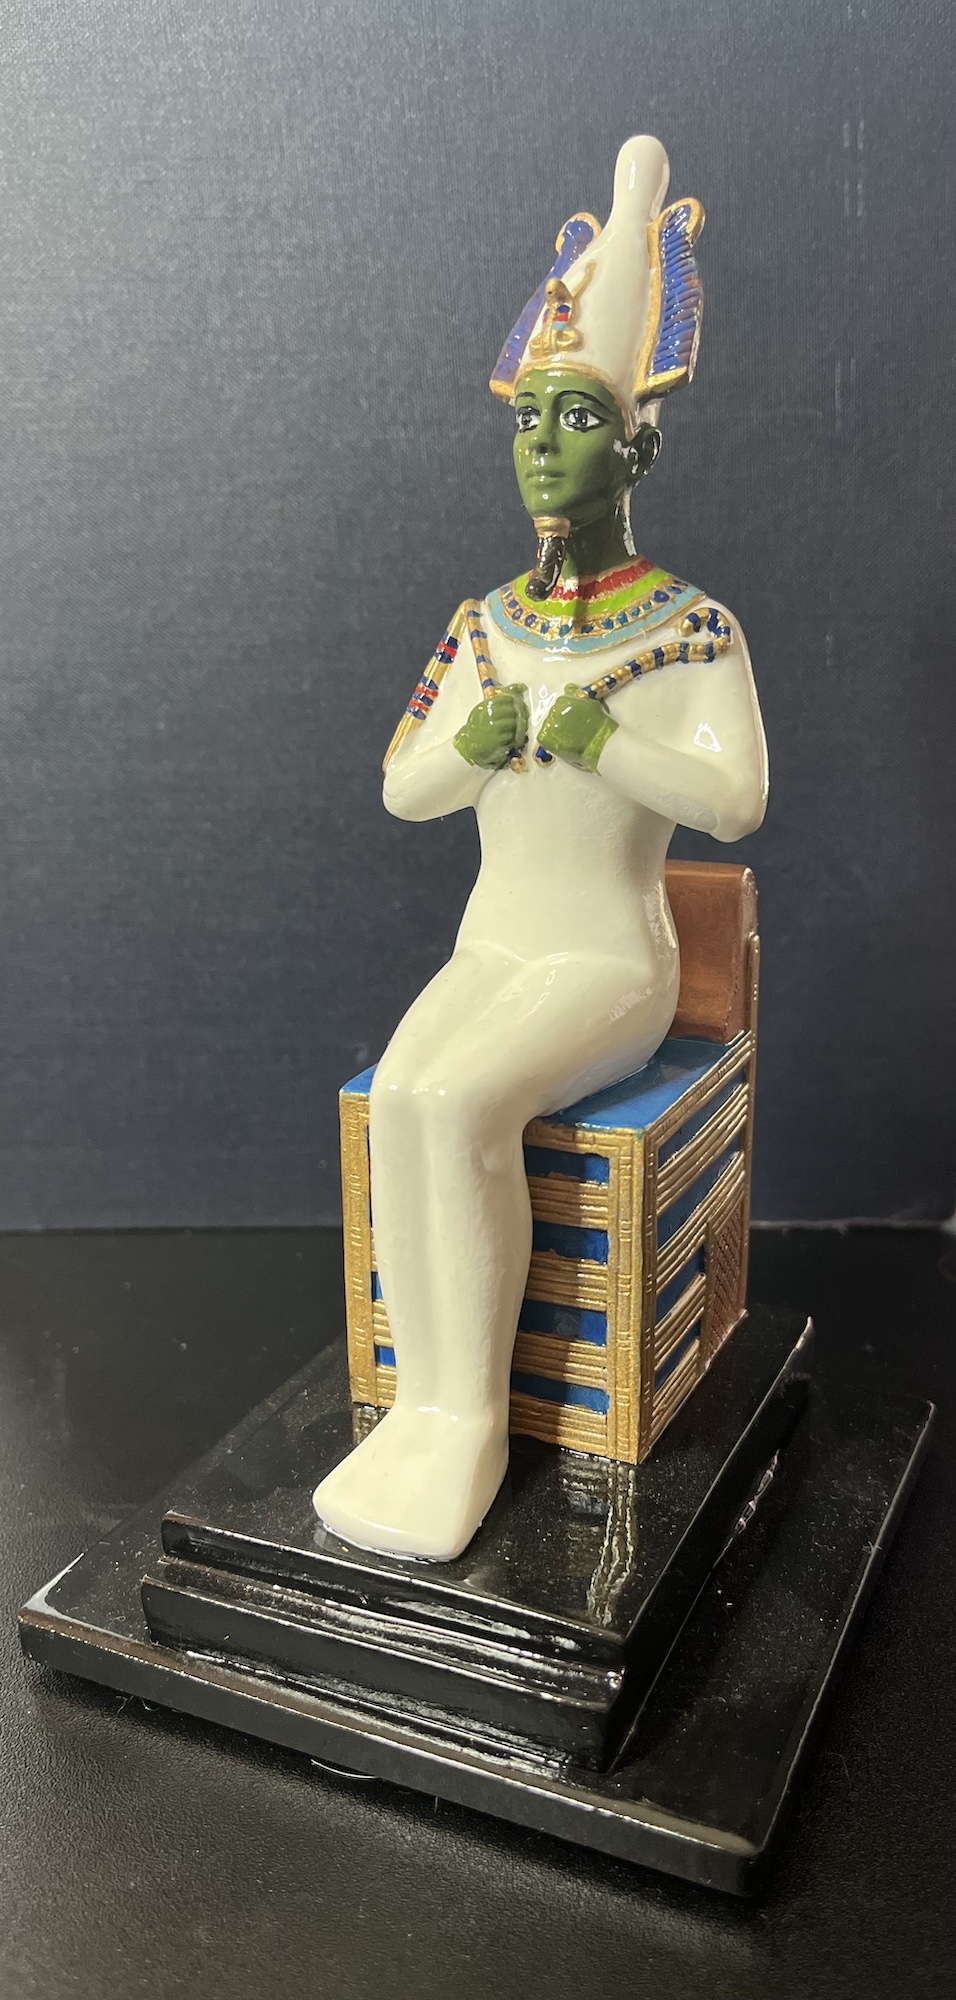
Osiris is all about rebirth and resurrection and renewal, so I’ve chosen him as the example to explain most of the process for the “makeovers”.

The original figure
Most of these figures as purchased are made of some variety of polyresin. Fortunately, acetone does not dissolve it (at least not in any reasonable amount of time).

Acetone bath
The first step is to strip the terrible paint job from the figure. For this, you want acetone. Yes, acetone nail polish remover (don’t get any non-acetone variety!) does just fine. I didn’t realize that when I started, so I had a can of the “industrial” stuff from a big box hardware store. For later figures I just bought a plastic bottle of the polish remover from the local drugstore. It’s still acetone, so be careful with it.
What you see in the sink is a ziploc bag (which acetone does not attack). The bag contains the figure and enough acetone to cover it pretty thoroughly. I actually double-bagged it because acetone is not harmless. It’s just a bit less harmful than some other solvents.
Please read and follow all safety instructions on the packaging. If you get it on your skin, you don’t need to instantly get to a hospital (it’s not sulfuric acid or something), but wash it off fairly quickly. And for the love of the gods don’t get it in your eyes.
Less important than your eyes and skin but still important, don’t get it on anything you own which is painted or glued, unless you really want to spoil that object’s finish.
Stripping complete
I usually left the figure in the acetone bath overnight. After that, take an old toothbrush that will never enter anyone’s mouth again and scrub the figure with the acetone. The acetone will be dirty from the dissolved paint (see the black liquid in the ziploc bag, in the previous photo?) but it should still do a decent job.
When you’re done, the figure should look something like in the picture at left. Note that it’s not pristine white all over. Do your best, but you’ll never get it perfect. Just make sure you’ve been as thorough as you reasonably can over every bit. The imperfect paint removal is no matter; the primer will fix it.
Removing the felt
Most of these figures have a sheet of felt glued to the bottom, to prevent it from scuffing whatever surface you put it on. The acetone bath dissolves the glue, and the felt will easily peel off, if it doesn’t just fall right off on its own.
The felt is now dirty and gross from the acetone and paint. Don’t worry about that; just throw it away. On every figure I’ve done this to so far, the original felt was of terrible quality. I bought much nicer felt with an adhesive backing, and I apply a nice fresh square of that to the underside of the base as the final step.
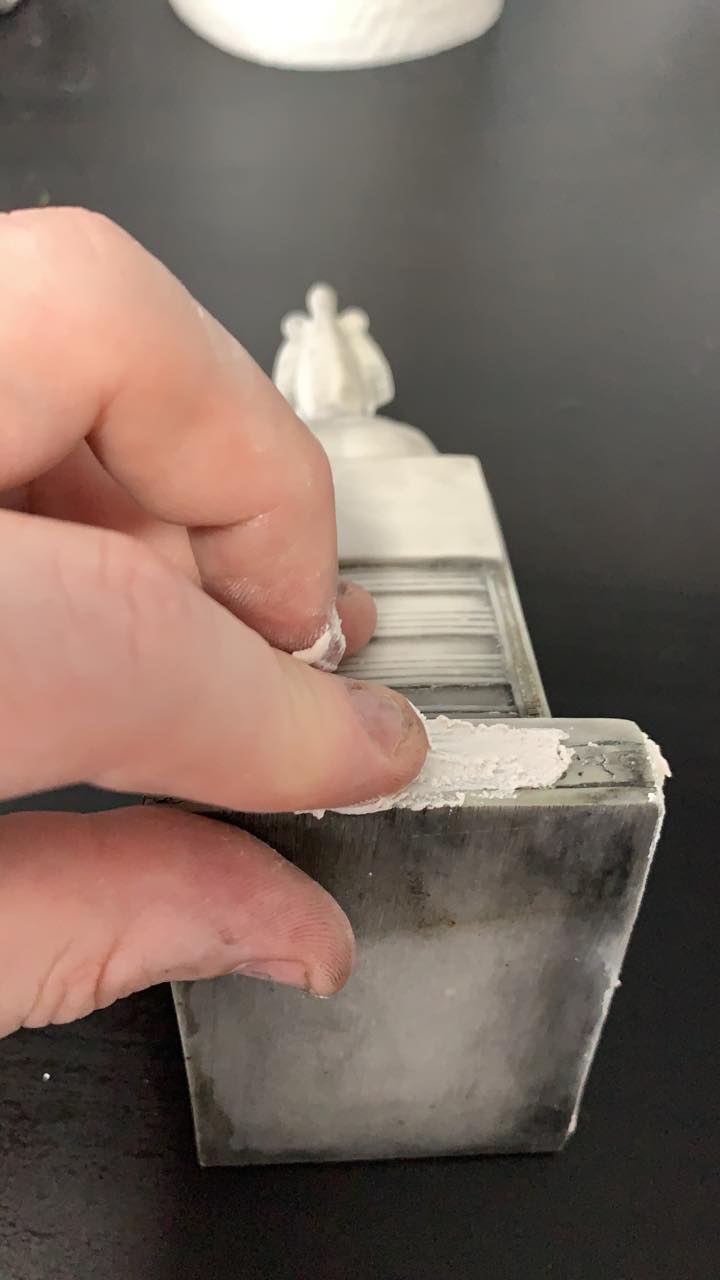
Eliminating terrible non-hieroglyphs
Also, these figures usually have “inscriptions” on them in “hieroglyphs” that are completely gibberish.
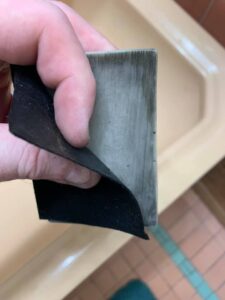
Just take some spackle, like you’d use to fix a ding in drywall, and smear some over the fake glyphs. Let it dry thoroughly. Carefully and gently sand it smooth. Repeat if necessary to fill in any further divots.
The trick with the sandpaper is to apply enough pressure to sand the spackle, but not so much that you scour the spackle right back out of the lines. Don’t worry if it takes a couple tries to get it right.
Other modifications
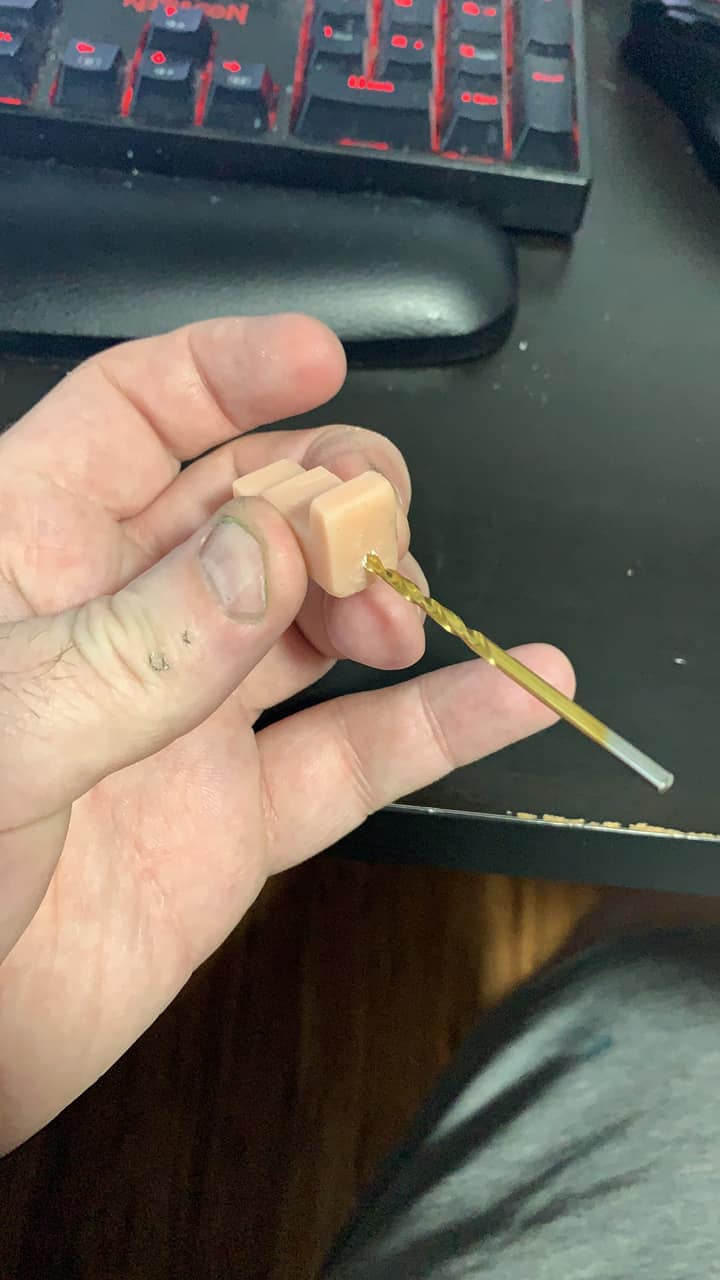
Now is the time to make any other desired modifications to the shape of the figure. Want to put an ankh in a hand? Want to resculpt the headgear? Do it now, before you prime the figure.
The Osiris figure didn’t really require any such modifications. Others have required some fairly extensive ones. I will (eventually) document those on each figure’s page.
The picture at left shows me putting a hole in the bottom of Isis’s “throne” hieroglyph, which went on her head as part of this stage.
A better base
Fairly early in this project I noticed that many of these figures don’t have very big bases. They are prone to tipping over. You do not want to spend hours and lots of money making a beautiful figure of your god only to bump the altar and send it to the floor. (Trust me on this.)
The best solution I found (not photographed here) was to buy ceramic tiles, 4 inches square, and then glue the base of the sculpture to a tile. Be sure to take the time to measure how big the base is, work out a position to center it on the tile, and sketch a rectangle.
Apply a good very strong glue (I used Gorilla) to the base of the figure, carefully place it on the sketched rectangle, press the pieces together, all that good stuff. Let the glue cure thoroughly. Now your god is more stable than before!

Priming
Once the sculpture is how you want it, it’s time to prime.
The primer I used for all these figures was Rust-Oleum “Stops Rust” Automotive Primer Spray, in Flat Light Gray. It works nicely with the polyresin.
Please read the instructions on the can and follow them carefully, both for the best results and for the health of your family. For the love of the gods, do it outdoors, unless you really have a properly equipped and ventilated hood for spray painting. After you have finished spraying and given it a few minutes for the most volatile compounds to offgas, it’s generally okay to bring the figure back indoors while the primer dries, but be sure to keep it away from small hands or paws!
Note that I have Osiris sitting in a cardboard box for this step. It helps keep the primer from blowing everywhere.
Also, note that he does not have a square tile base glued underneath him yet. I didn’t attach his at this stage. He’s got a lower center of gravity since he’s seated, but believe me, you should do it before this stage anyhow. If you pick up the box to bring the god inside while the primer is drying, the god may tip over, and at best you’ll want to respray it where it touched the box; at worst, it wobbles out of the box and hits the ground. I lost one this way. Learn from my mistakes.

Painting
Give the primer plenty of time to dry. The Great Pyramid wasn’t built in a day. If the primer isn’t properly cured, the figure will never come out correctly.
I can recommend three brands of paint that I have used on the figures:
- Testors enamel paints, for models and miniatures
- Liquitex acrylics
- Benicci acrylics
Which of the three I used varied with the color.
You may be wanting specific recommendations on colors. I will try to add these at some point. For now I will offer just two:
- Traditionally, the gods’ skin was believed to be made of gold. I used Testors metallic gold for their skin. (Osiris is actually a bad example for this because his skin is green.)
- The gods would be wearing gold jewelry, but my thinking is, their jewelry would not shine as brightly as their own skin. Therefore, I used Testors metallic copper for most of their jewelry. (Again, Osiris is a bad example for this; since his skin is green, I actually went ahead and used gold for his accoutrements.)
The copper idea is further supported by Tutankhamun’s famous statuette of Ptah, whose shrouded body is more of a rosy gold due to high copper content, contrasting with the purer gold of his face. Joan Lansberry cites Hawass on this subject at her page about the statuette.
One other tip: The Testors enamels are great, but it’s easy to apply them too thickly, and the figure feels kinda sticky for some time. Less is more. Acrylics don’t have this problem, so I try to use the enamel only for metallic colors when possible (the Testors metallics are just so much better than any acrylic I’ve seen).
Clearcoat
Once all the painting is done to your satisfaction, check it thoroughly. Look all over the figure. Turn it around to view it from every angle. See, you missed a spot.
Once you’re done, it’s time for the clear coat. I used Rust-Oleum Universal All Surface Clear Topcoat Spray, Dead Flat.
As with everything else in this process, read the clearcoat instructions very carefully and follow all safety measures.
I actually wavered on High Gloss versus Dead Flat for the clearcoat’s finish. I’ve settled on Dead Flat. The gloss version is lovely, but the figure always looks a bit wet, and the reflected light actually takes a bit away from all the hard work done on the paint job.
Final touches
The last step is to cut a square of felt with an adhesive backing and stick it to the bottom of the figure. (Sorry, I didn’t really get a photo of that.)
The felt I got was from the huge internet retailer, but the specific kind I bought is no longer available. You can probably find something similar, though. I used green for all my figures to represent life and growth, though in practice it’s never visible; I cut the felt just a little smaller than the base so it’s neatly hidden.
And that’s it! You’ve turned a fairly tacky figure with an inauthentic paint job and fake wannabe hieroglyphs into a beautiful figure, worthy of your deity. And you did it yourself, which makes it all the more effective for your devotions.